Vegan Buckwheat and Cacao Pancakes.

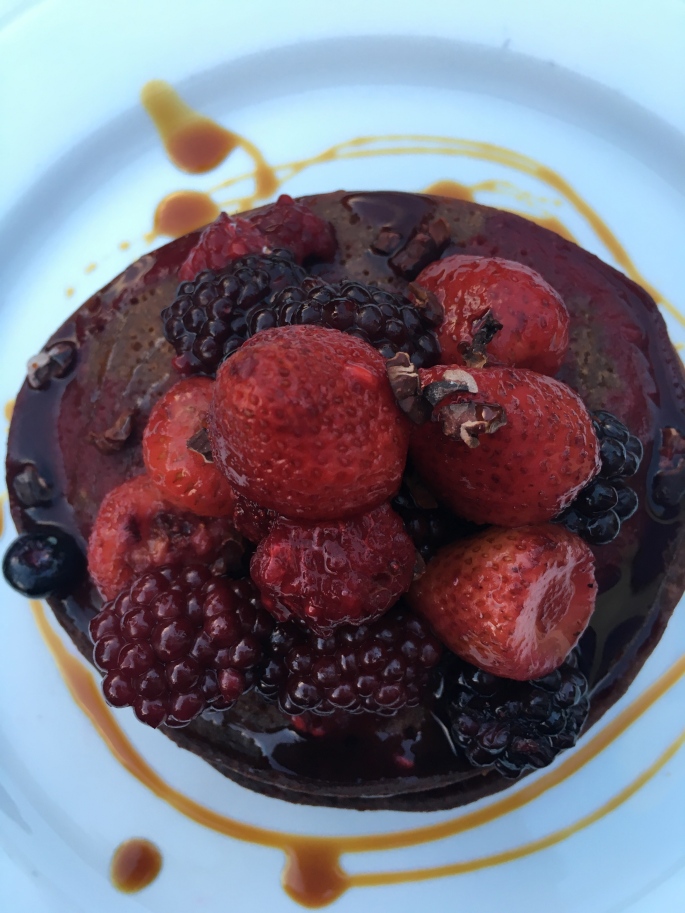
Vegan buckwheat and Cacao Pancakes, free of refined sugar and gluten free….. sounds disgusting, doesn’t it? When I set out to create this recipe I honestly thought that they would never taste good, the first batch was horrid, as was the second (they looked and tasted like cardboard!),  the third batch was a serious improvement and the fourth batch? Well, they were freakin’ EPIC!!!!!

IMG_9342.JPG
Vegan Buckwheat and Cacao Pancakes.

What you will need.

  • 1 Cup of almond milk- at room temperature (Use coconut milk if nut free)
  • 1 Tablespoon of ground linseed
  • 1 Tablespoon of melted coconut oil + extra for cooking
  • 1 Teaspoon of vanilla
  • 2 Tablespoons of rice malt syrup
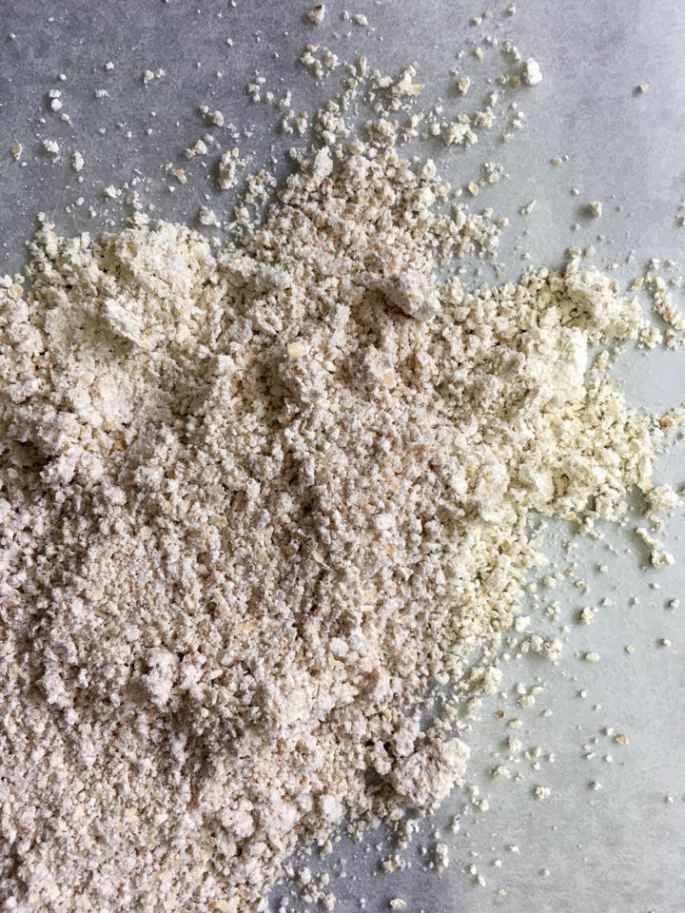
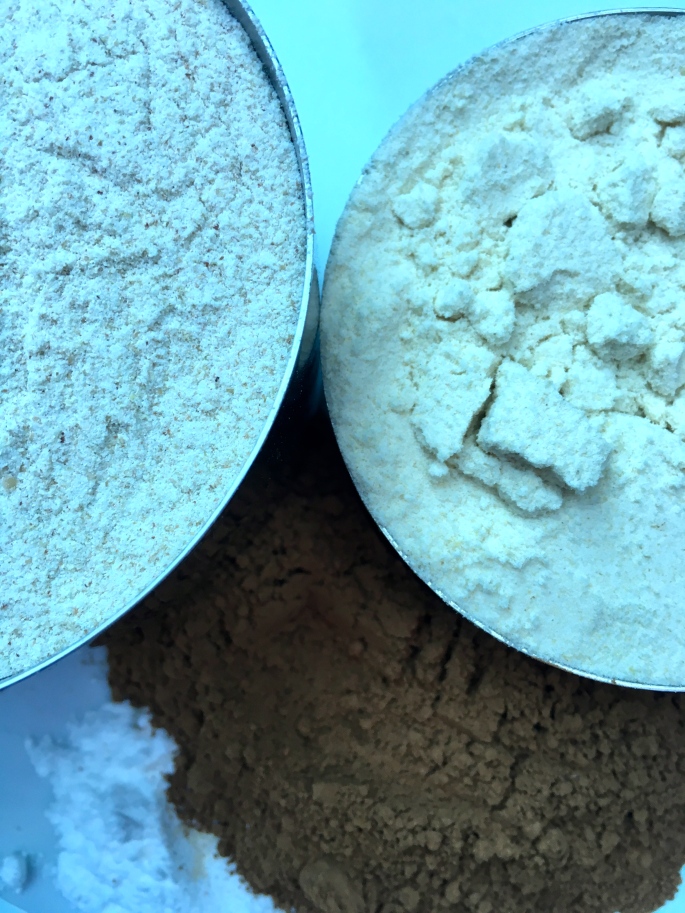
  • 1/2 Cup of buckwheat flour
  • 1/2 Cup of brown rice flour
  • 1/4 Teaspoon of salt
  • 2 Tablespoons of raw cacao powder
  • 1 Teaspoon of gluten free baking powder
IMG_9333.jpg
Sift all of the dry ingredients together.

Throwing it all together.

  1. In a medium sized bowl, combine the almond milk, linseed, vanilla and coconut oil. Set the mixture aside for five minutes.
  2. Sift all of the dry ingredients into a bowl and add  to the almond milk mixture, whisk until smooth and thick. Pour the rice malt syrup into the mixture and whisk until combined, cook immediately.
  3. Place a large fry pan with 1 tablespoon of coconut oil over medium/low heat, when the pan is hot enough place a 1/3 cup of the mixture into the pan, repeat two more times (you should fit three pancakes in at a time).
  4. When the pancakes bubble on top (this takes approximately 4 minutes) they are ready to flip, cook them for a further minute or so until they are slightly crunchy on the outside. The recipe makes two serves (six pancakes).
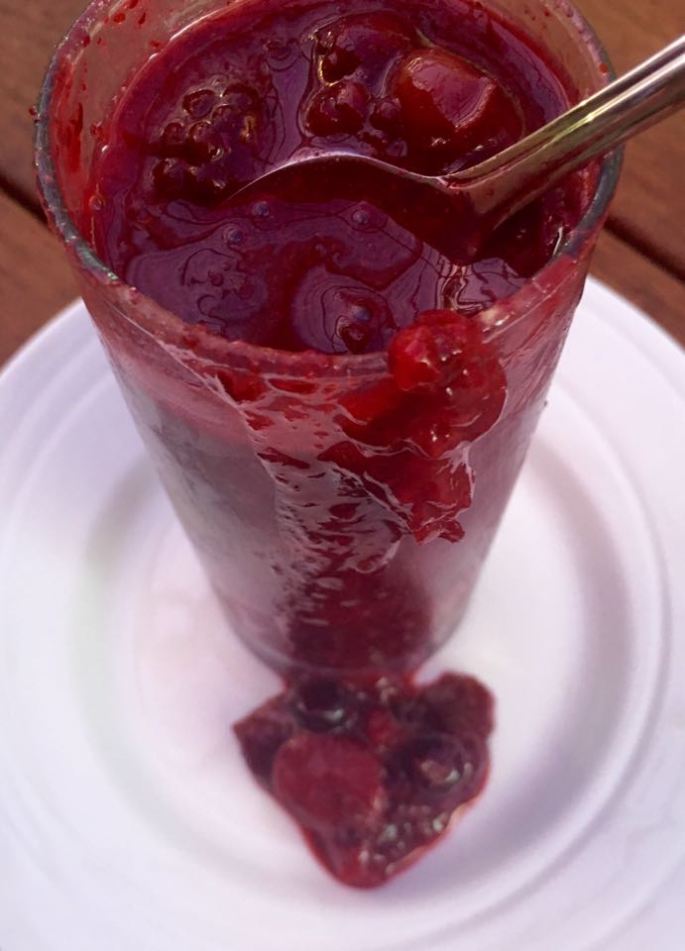
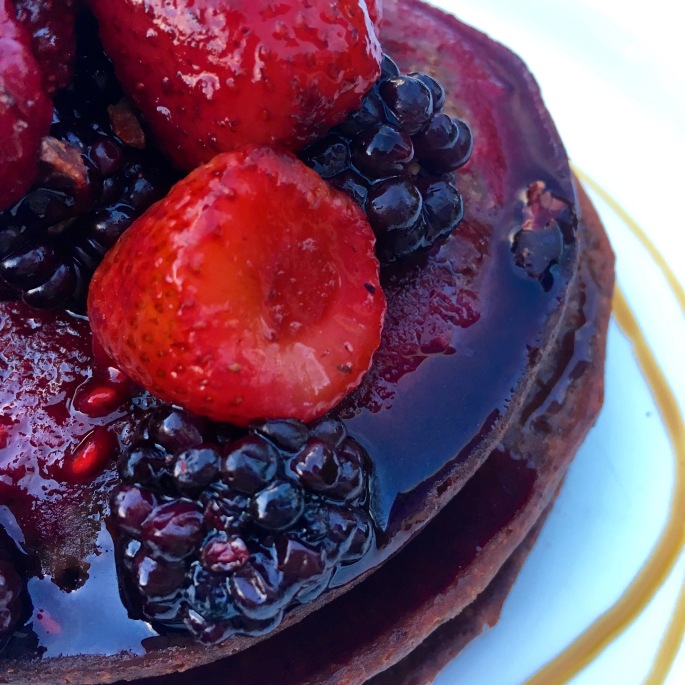
  5. When they are finished cooking, stack the pancakes on a plate and smother with your favourite toppings, I used warm berries, cacao nibs and coconut nectar YUM!!
IMG_9338.jpg
My favourite pancake toppings, warm berries, cacao nibs and coconut nectar!

Pear and Apple Breakfast Crumble.

Winter…. Why does is make us want to eat naughty foods? One word, COMFORT! The colder weather always makes us want to stuff our faces with carb loaded, fatty comfort foods! My aim this winter is to still have comfort food and satisfy cravings without gaining a layer of insulation! Upon waking the other morning to yet another freezing winter day, I had the most intense craving for warm, sugary, pear and apple crumble topped with loads of vanilla ice-cream, I was strong and resisted temptation, however I suffered thinking about it all day. The more I thought about it, the more I wanted it, so I came up with ways to make an all natural pear and apple crumble that wouldn’t make me put on an entire dress size!

This recipe is great for so many reasons, my favourite being that it is cheap and fast to make, and when prepared ahead of time it means you can have a quick, satisfying breakfast every morning. This recipe is so versatile and it can be altered to suit anyones dietary requirements, it is vegan and free of refined sugar and can be made nut free and gluten free!

What you will need.

  • 4 Pears(peeled and cored)
  • 3 Royal gala apples(peeled and cored)
  • 1 Tablespoon of ground mixed spice
  • 2 Cups of natural granola or muesli (I smashed up a dud batch of home-made granola bars)
  • 2 Tablespoons of melted coconut oil
  • 2 Tablespoons of coconut nectar (or pure maple syrup)
image
I smashed up a dud batch of granola bars, adding cacao nibs and mixed seeds for the crumbly top.

Throwing it all together.

  1. Place the peeled, core apples and pears into a pot with the mixed spice and cover with water, simmer over medium heat until the fruit is soft and just beginning to break down. Drain the fruit gently in a colander, discarding the liquid.
  2. Pour the fruit into a baking dish (I used a 26cm x 16cm) or in individual ramekins, pressing down with a spoon to slightly breakdown the fruit.
  3. In a bowl, mix the melted coconut oil with the natural granola or muesli until it is evenly coated.
  4. Scatter the granola mix over the top of the fruit evenly, then drizzle with the coconut nectar.
  5. Bake at 160 degrees celsius for approximately 10 minutes or until the top of the crumble is and crunchy.
  6. Cool for 5 minutes and then serve, it goes really well with a big dollop of coconut yogurt.

The crumble will keep for up to 4 days in the fridge or for up to 2 months in the freezer in an airtight container. I portioned it down into six serves before storing. Enjoy!


Raw, Vegan Chocolate Tart.

If you haven’t noticed already.. I love chocolate! This is one of my favourite desserts, it’s vegan, gluten free, raw and free of refined sugar. It has a crunchy almond base and it is filled with a decadent cacao mousse… what more could you want from a dessert??!

You can choose to make this tart with store bought almond meal or make your own, personally I make my own, it doesn’t require too much extra effort and it is heaps cheaper! All you need is raw almonds and a high powered food processor.

IMG_9140
All you need is raw almonds and a high powered food processor.

Making the almond meal.

When I make almond meal I always make extra, it is the base for a lot of my raw treats, you can also use it to make gluten free cakes and breads. It stores well in the fridge for around 3 weeks or you can place it in the freezer for up to 3 months. I had 4 cups of almonds lying around so I used all of them, this made approximately 5&1/4 cups of almond meal. Place all of the raw almonds into a high powered food processor and blitz on high until they start to breakdown and the natural oils begin to come out. You will know that the almond meal is ready when it sticks to the sides of the blender. remove from the blender and store in an air-tight container.

IMG_9142
You will know that the almond meal is ready when it sticks to the sides of the blender.

What you will need for the base.

  • 2 &1/3 Cups of almond meal
  • 4 Tablespoons of solidified coconut oil+ extra for greasing

Throwing it all together.

  1. Grease a 25cm loose bottom flan tin with coconut oil.
  2. Place the almond meal and 4 tablespoons of coconut oil in a bowl and rub together with your hands until the coconut oil has melted and it is evenly mixed.
  3. Firmly press the mixture into the flan tin, ensuring that the surface of the base is fairly even.
  4. Place the tart into the fridge for 30 minutes or until the base is set.
IMG_9145
Press the mixture evenly into the flan tin and set in the fridge.

What you will need for the filling.

  • 2 Medium sized avocados (not too ripe)
  • 1/4 Cup of raw cacao powder
  • 1/4 Cup of coconut nectar (or pure maple syrup)
  • 2 Tablespoons of solidified coconut oil
  • Fresh berries, 2 tablespoons of almond meal and 2 tablespoons of unsweetened cacao nibs for decorating.

Throwing it all together.

  1. Scoop the avocado pulp (discarding the stone) into a food processor and blend until smooth.
  2. Add the raw cacao powder, coconut nectar and coconut oil into the food processor with the avocado and blend until smooth, you will need to scrape the sides down a few times and blend again.
  3. Remove the tart base from the fridge and pour the chocolate mixture in, smoothing the top so that it is evenly spread.
  4. Sprinkle the extra almond meal and cacao nibs over the tart and decorate with berries.
  5. Place the tart into the fridge for 2 hours until set.
IMG_9150
Add the berries before serving.

If decorating with berries, due to the acid they contain, the tart will keep in the fridge for 3 days. Without the berries it will last 5 days in the fridge and up to 1 month in the freezer in an airtight container.

Raw Mini Carrot Cakes.

Carrot cake is one of my all time favourite treats! My regular carrot cake recipe contains 2 cups of sugar, although it is delicious, it is so bad for the waist line!! This recipe for raw mini carrot cakes contains no refined sugar and is 100% vegan. They are fairly time consuming to make due to all of the different elements, but they are very much worth it!

When creating these raw mini carrot cakes you will need to soak 2 cups of cashews for at least 2 hours to make the ‘frosting’. You will also need to make oat flour for the base. It is so simple to make, and contains only one ingredient…. Oats! You will need to use a high powered blender to break down the oats, I used a Vitamix set on the highest speed.

13231102_10209786241919252_1510084574_n
All you need is raw oats and a high powered blender.

You will need 2 cups of oats to make approximately 1 1/2 cups of oat flour. Place the oats into your blender, and blitz  on high speed until they resemble a fine powder . Depending on what sort of blender you use, it may be easier to pulse them.

13227993_10209786241839250_1130378258_n
Blitz the oats until they resemble a fine powder.

What you will need for the carrot cakes.

  • 2 Large carrots(ends removed and chopped into fours)
  • 1/2 Cup of raw pecans
  • 1/3 Cup of fresh pureed pineapple
  • 1/4 Cup of pure maple syrup
  • 1 1/2 Cups of oat flour
  • 1/4 Cup of desiccated coconut
  • 1 Teaspoon of mixed spice

Throwing it all together.

  1. Start by placing the carrots into the food processor and blending until they are broken down into small pieces (almost like a fine dice)
  2. Add the pecans, pineapple and maple syrup, pulsing until combined.
  3. Add the dry ingredients and pulse to form a sticky dough, if the mixture is too wet add some extra coconut, the dough should be quite moist.
  4. Scrape the dough into a heap on top of a large piece of baking paper, top with another piece of baking paper, with a rolling pin flatten the dough until it is approximately 3cm thick.
  5. Using a 2 inch round cookie cutter or scone cutter (you can use a larger one if you prefer) cut out rounds of dough and place them onto a lined baking tray, this should make about 14. Place them in the fridge for 1 hour to set.
13219551_10209786241519242_1631799076_n
Roll the dough in-between two pieces of baking paper.

What you need for the ‘frosting’.

  • 2 Cups of pre-soaked raw cashews
  • 1/4 Cup of pure maple syrup
  • 1/2 Teaspoon of vanilla paste
  • 1 Tablespoon of coconut oil
  • 1/2 Cup of chopped raw pistachios (for decorating)
  • Extra raw pecans (for decorating)

Throwing it all together.

  1. Place the cashews into the blender and blitz on high speed, add the maple, vanilla and coconut oil, scrape down the sides and blend until smooth.
  2. When the ‘frosting’ is nice and smooth place it into a piping bag with a star nozzle attached, pipe rosettes on top of the set carrot cakes.
  3. Decorate with chopped pistachios and pecans, place them back in the fridge for 1 hour to set.

The raw mini carrot cakes can be stored in the fridge for up to 5 days, they also freeze exceptionally well for up to 2 months.

13236043_10209786241439240_921207208_n
Store in an air tight container in the fridge for up to 5 days, or in the freezer for up to 2 months.

Mixed Berry and Flaxseed Jam

Jam….. Who doesn’t love it?! The only problem is that it contains so much refined sugar, a typical Jam recipe calls for around 3 cups of sugar for every 2kgs of fruit. 3 CUPS!!!! This recipe for Mixed Berry and Flaxseed Jam is completely free of refined sugar, and although it isn’t as sweet as your typical Jam, it is still extremely tasty! Do your body a favour and make the switch!

13231213_10209776598918183_1890660398_n
When using frozen fruit, make sure it is grown and packed in Australia.

You can use either fresh or frozen berries for this recipe, due to the high price of fresh berries at this time of year I just used frozen. When buying frozen fruit always check the packet to make sure that the fruit is both grown and packed in Australia, supporting local produce is so important, and Australia has a very high standard for food safety.

I find that a lot of recipes for ‘sugar free jam’ call for chia seeds, I love chia seeds, however they are over rated! Flaxseeds (linseeds) are the bomb, seriously! They are a third of the price of chia and boast just as much if not more nutritional value! I buy the pre-ground flaxseed from Coles, and one bag goes a really long way!

This recipe is super quick to make, it should only take about ten minutes to cook, and one hour to set in the fridge. It is perfect served on toast, on top of porridge or even mixed through some yogurt!

13235897_10209779351106986_2070220265_n
Perfect on toast, porridge, mixed through yogurt or even in smoothies.


What you will need.

  • 2 Cups of mixed berries (fresh or frozen)
  • 2 Table spoons of rice malt syrup
  • 2 Tablespoons of ground flaxseed
  • 1/2 Teaspoon of vanilla paste

Throwing it all together.

  1. Place the vanilla and berries into a medium sized saucepan over a low heat for approximately five minutes (if using frozen berries defrost them first), break the berries down with a wooden spoon, remove from the heat.
  2. Stir in the rice malt syrup and ground flaxseed.
  3. Pour into a  warm sterilised jar, firmly secure the lid and place the jar upside down for about ten minutes.
  4. Place the jam into the fridge for one hour or until set. The texture should be slightly runny.


13219755_10209779350346967_994435397_n

Store the jar of jam in the fridge making sure the lid is secure when not being used. It will last approximately two weeks.

Avocado & Cacao Brownies

These Avocado and Cacao Brownies are seriously epic! They are dense and rich, they are gluten, nut and lactose free, and contain no refined sugar. I always try and use organic products when I can, however they can be a little pricey and if you don’t have access to organic ingredients it doesn’t matter, the end product will still work! I like to use a good quality dark chocolate in this recipe (90% cocoa) as I love the intense, bitter flavour. If you are not a big fan of dark chocolate use the 70% cocoa, ensuring that it contains no milk solids or refined sugars. If you don’t have access to coconut flour it can be substituted with ground almonds (this will mean that it is not nut free!). If you prefer to use honey instead of maple syrup, make sure it is good quality (I always use local honey!).

13236223_10209771998963187_245624720_n
Make sure your avocado is not too soft!

What you will need.

  • 2  Large Avocados (not too ripe)
  • 200g of good quality dark chocolate (I used 90% cocoa dark chocolate)
  • 2 Tablespoons of coconut oil
  • 1/3 Cup pure maple syrup (or honey)
  • 1/4 Cup of cacao powder
  • 1/4 Cup of coconut flour
  • 3 Eggs (Organic,free range is always best!)


13220060_10209771997523151_333324486_n
Organic, free range eggs from Mum & Dad’s chooks!

Throwing it all together.

These brownies are very forgiving, perfect for an impatient baker such as myself! It should take no more than 10 minutes to get these babies in the oven!

  1. Preheat your oven to 160 degrees celsius, grease and line a 20X20cm brownie pan.
  2. Puree avocado pulp in your food processor until completely smooth, then transfer to a mixing bowl.
  3. Place the dark chocolate and coconut oil into a small saucepan over low heat, stirring continuously until just melted.
  4. Add the chocolate mixture and the pure maple syrup to the avocado pulp and whisk until combined.
  5. Mix in all three eggs, followed by the cacao powder and coconut flour, ensuring that the mixture is nice and smooth.
  6. Poor the batter into the lined pan, smoothing the top so that it is even.
  7. Bake for 15-20 minutes until the top is firm to touch.

Allow the brownie to completely cool before removing it from the tin, and carefully slice into 16 pieces. The brownie can be stored in an air tight container in the fridge for up to a week, it also freezes really well for up to two months (if they last that long!!!)

Creating treats for everyone

I first began creating natural treats about a year ago, I am a chef with a background in patisserie, which equals the creation of really sugary, fatty foods!  I started a job in a new cafe where I made an abundance of naughty sugary, creamy desserts. After a couple of months of being flooded with requests for people with different allergies, I finally gave in and found time to play with the idea of natural treats. My theory was to create the same desserts that I was already making, however I wanted to remove over-processed ingredients and tame the calories, replacing them with high quality, natural ingredients.

The people spoke, and I listened. Lactose intolerance, nut allergies, celiac, and egg allergies where among some of the factors I had to consider within my recipes. The other major factor was the large amount of the population that choose a Vegan or ‘plant based’ lifestyle, in the area that I live this is an extremely popular way of life. I completely support the choices that anyone makes in regards to their own diet, and I feel for those who have to live with food allergies, I also believe that everyone, in moderation deserves to treat themselves. This is what drives me to create and evolve recipes to ensure that everyone can treat themselves in their diet.

12657826_10208818118076761_8898911690324560810_o
My Raw Carrot Cakes. Vegan and free of refined sugar.

One thing I find is that people have this perception about natural treats, the Raw variety in particular, that they are difficult and time consuming to make at home, they don’t have to be. I am very time poor, generally every recipe I create is a rush job, I then go back and refine them, finding ways to improve the taste, texture and difficulty level of each one. I love making natural treats, however I don’t want to stand in the kitchen for hours to get the end product. I find that there is nothing more annoying than when you are trying follow a recipe and it calls for the most hard to find, over priced products, I only use ingredients that are easy to source, generally found in your local supermarket or green grocer.By creating this blog I am hoping that I can share some of my personal recipes and food tips so that everyone can recreate my natural treats with ease, and actually enjoy making them!